Taro + NutUI + Vue3.x 搭建跨端应用
写在前面
跨端框架本身是为了解决更少的代码,更好的产出,(个人觉得),但是在经历了修改老团队遗留下来的屎山代码之后,决定自己利用休息时间重新搭建一个项目,并且对于原有项目代码进行优化,以及常用方法的封装,更多的私心就是作为一个购买了正版的WebStorm的Developer来说,实在忍受不了HBuilderX这个软件
Why Taro Not Uni-app
旧项目代码是使用uni-app开发的,选择Taro更多的是基于个人对于Taro的喜爱,以及对于东哥公司的向往~,另外也受2年前看到的文章所影响,先前一直没有机会尝试,这次选择也基于此,关于跨端技术的对比,可以参考这篇文章:
初始化项目
初始化项目,相关步骤请参考 Taro 官网中的详细说明,本文如下内容仅以个人项目做说明
npx @tarojs/cli init mara-h5-taro
之后按照shell内步骤提示键入对应内容,此处我选择的是Vue3+NutUI的模版进行创建,创建成功后,
yarn dev:weapp
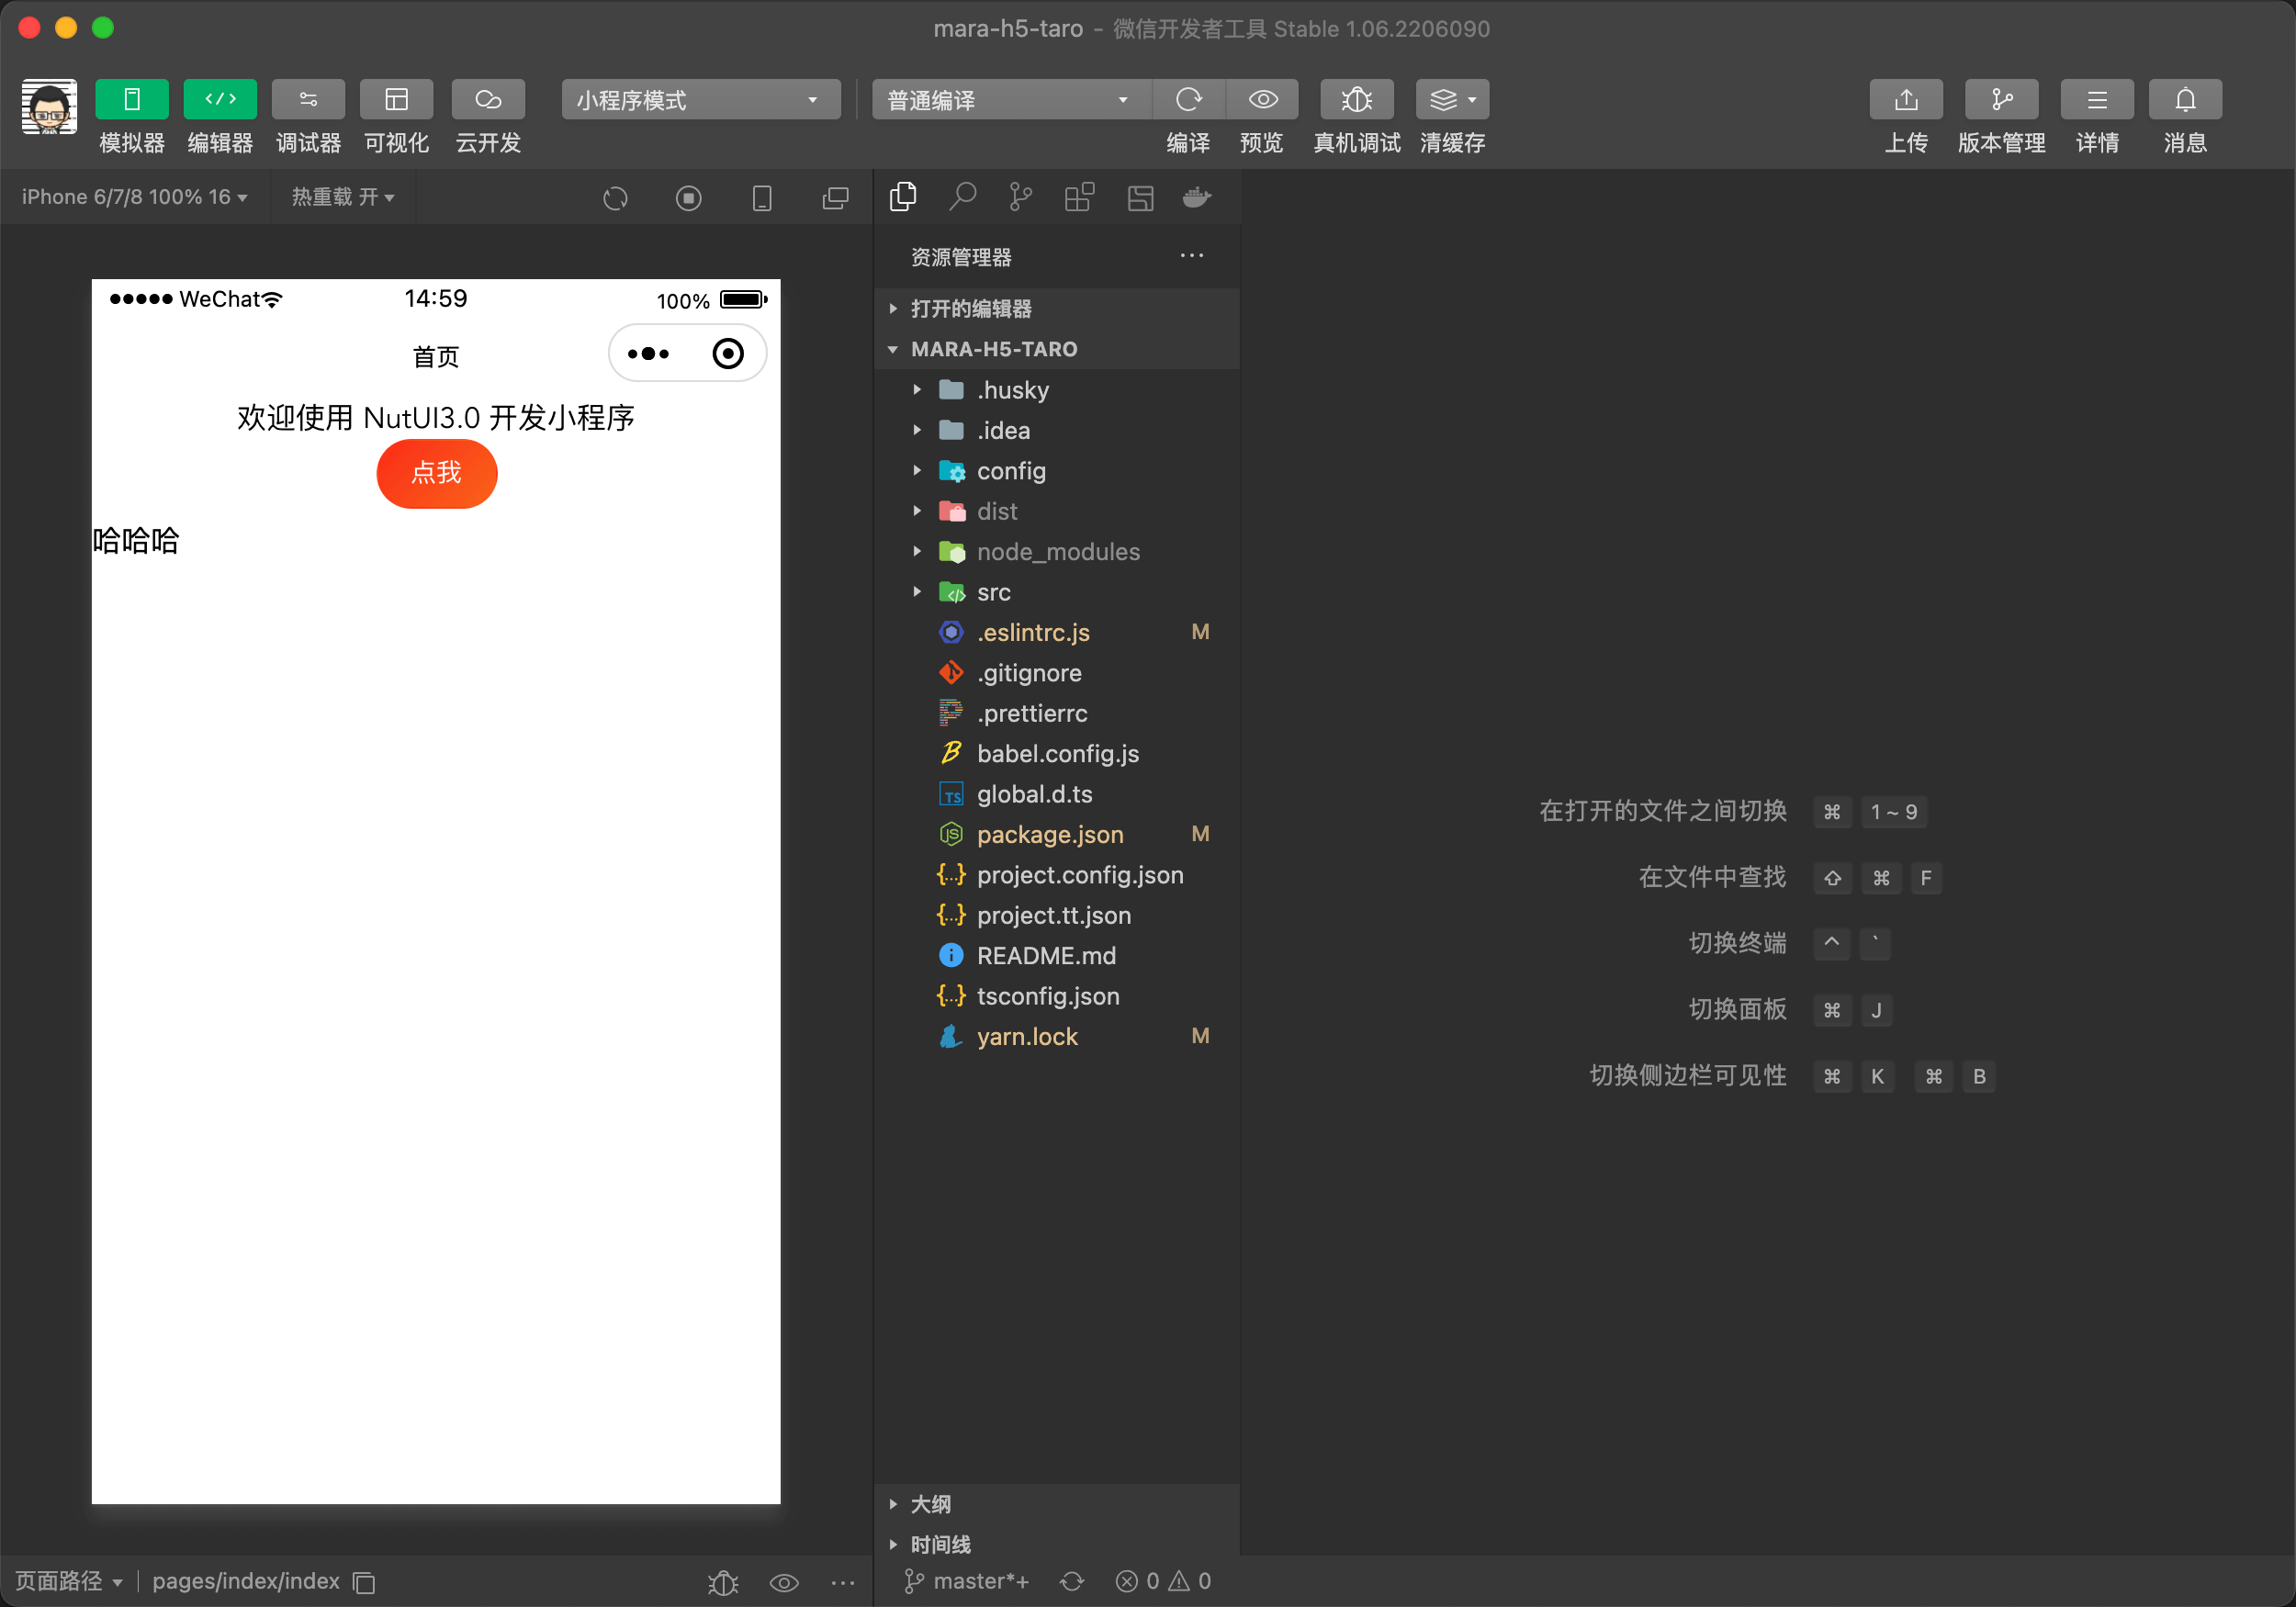
初始化项目便成功运行起来了,此时打开微信开发者工具,可以看到如下界面:
此时的项目已经成功运行起来了,因为考虑到可能作为模版为团队使用,还需要进行一些配置
配置Eslint\prettier规范
yarn add @vue/eslint-config-prettier @vue/eslint-config-typescript eslint-plugin-prettier vue-tsc husky lint-staged -D
接下来,开始编辑各配置文件:
.eslintrc.js
module.exports = {
  root: true,

  env: {
    node: true,
    'vue/setup-compiler-macros': true
  },

  extends: [
    'plugin:vue/vue3-essential',
    'plugin:vue/vue3-recommended',
    'plugin:prettier/recommended',
    'plugin:@typescript-eslint/recommended',
    'prettier',
    'eslint:recommended',
    '@vue/prettier',
    '@vue/typescript',
  ],

  parserOptions: {
    parser: '@typescript-eslint/parser'
  },

  rules: {
    'prettier/prettier': [
      'error',
      {
        singleQuote: true,
        semi: false,
        trailingComma: 'none',
        arrowParens: 'avoid',
        printWidth: 100
      }
    ],
    'no-console': process.env.NODE_ENV === 'production' ? 'warn' : 'off',
    'no-debugger': process.env.NODE_ENV === 'production' ? 'warn' : 'off',
    'vue/multi-word-component-names': 'off'
  }
}
.prettierrc
{
  "tabWidth": 2,
  "singleQuote": true,
  "semi": false,
  "trailingComma": "none",
  "arrowParens": "avoid",
  "endOfLine": "auto",
  "printWidth": 100
}
package.json
同时,为了确保提交代码时不产生一些低级错误,配置一下 Ts 和 Eslint检查命令,虽然WebStorm内置的Git使用起来就已经会进行一遍代码审核,但是为了方便协作,在package.json文件中添加一些命令。最后的package.json新增如下变动:
{
  "scripts": {
    "tsc": "vue-tsc --noEmit --skipLibCheck",
    "lint": "eslint --ext .vue --ext .js --ext .ts src/"
  },
  "dependencies": {
    "@babel/runtime": "^7.7.7",
    "@nutui/nutui-taro": "^3.1.8",
    "@tarojs/components": "3.4.13",
    "@tarojs/plugin-framework-vue3": "3.4.13",
    "@tarojs/plugin-html": "3.4.13",
    "@tarojs/runtime": "3.4.13",
    "@tarojs/taro": "3.4.13",
    "taro-plugin-tailwind": "^1.2.8",
    "vue": "^3.0.0"
  },
  "devDependencies": {
    "@babel/core": "^7.8.0",
    "@tarojs/cli": "3.4.13",
    "@tarojs/mini-runner": "3.4.13",
    "@tarojs/Geekpack-runner": "3.4.13",
    "@types/Geekpack-env": "^1.13.6",
    "@typescript-eslint/eslint-plugin": "^5.20.0",
    "@typescript-eslint/parser": "^5.20.0",
    "@vue/compiler-sfc": "^3.0.0",
    "@vue/eslint-config-prettier": "^7.0.0",
    "@vue/eslint-config-typescript": "^11.0.0",
    "autoprefixer": "^10.4.7",
    "babel-plugin-import": "^1.13.3",
    "babel-preset-taro": "3.4.13",
    "eslint": "^8.12.0",
    "eslint-config-taro": "3.4.13",
    "eslint-plugin-prettier": "^4.2.1",
    "eslint-plugin-vue": "^8.0.0",
    "husky": "^8.0.1",
    "lint-staged": "13.0.1",
    "postcss": "^8.4.14",
    "postcss-html": "^1.4.1",
    "stylelint": "9.3.0",
    "tailwindcss": "^3.1.4",
    "typescript": "^3.7.0",
    "vue-loader": "^16.0.0-beta.8",
    "vue-tsc": "^0.38.9"
  },
  "lint-staged": {
    "*.{js,jsx,ts,tsx}": [
      "eslint --fix",
      "prettier --write"
    ],
    "{!(package)*.json,*.code-snippets,!.*rc}": [
      "prettier --write--parser json"
    ],
    "package.json": [
      "prettier --write"
    ],
    "*.vue": [
      "eslint --fix",
      "prettier --write",
      "stylelint --fix"
    ],
    "*.{scss,less,styl,html}": [
      "stylelint --fix",
      "prettier --write"
    ]
  }
}
tailwindcss
可能因为懒~原子化的tailwindcss很好用,所以我也加了进来~
依次按如下顺序执行shell命令即可
yarn add tailwindcss
yarn add taro-plugin-tailwind --save
npx tailwind init
taro tailwind init
taro tailwind --init weapp
在想尝试使用tailwindcss过程中发现没有起作用,且没有发生报错或编译失败的情况,几经周折,最后安装了 taro-plugin-tailwind 插件来解决,相关问题修复在 Taro 官方物料市场内可以看到,链接如下,修复过程中就不在赘述了:
https://taro-ext.jd.com/plugin/view/5fbb3a0799370e09266e2d68
完成上述配置之后,就可以正式开始项目开发啦~
目前,我只写了两个页面,仅作为项目搭建成功,以基础架构作用,可以扫描下方的体验二维码来尝鲜

参考链接
- https://blog.fundebug.com/2019/03/28/compare-wechat-app-frameworks/
- https://taro-ext.jd.com/plugin/view/5fbb3a0799370e09266e2d68
- https://www.cnblogs.com/jiaoshou/p/12250278.html
- https://developers.weixin.qq.com/community/develop/article/doc/0006ea58fd0e600818fdc77275ac13
- https://www.craft.do/s/Wx2f9cjGwyZYOx/b/7C55634E-E6CA-4669-9419-194C6263E8A5/%F0%9F%91%BD_Taro_%E5%B0%8F%E7%A8%8B%E5%BA%8F